-40%
16" 6 Outlets Hardwired Power Strip, H01606NVW1
$ 13.72
- Description
- Size Guide
Description
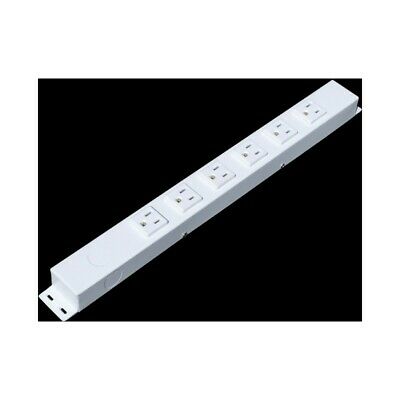
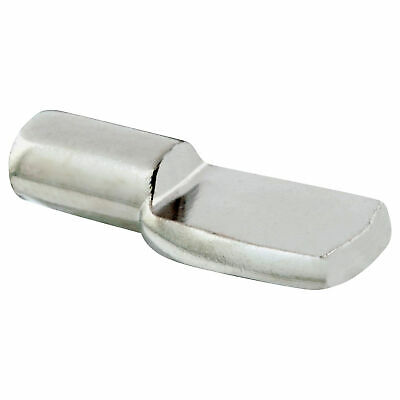
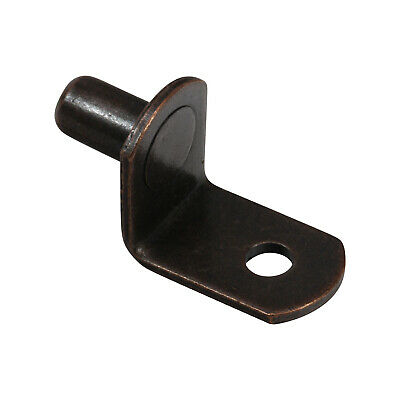
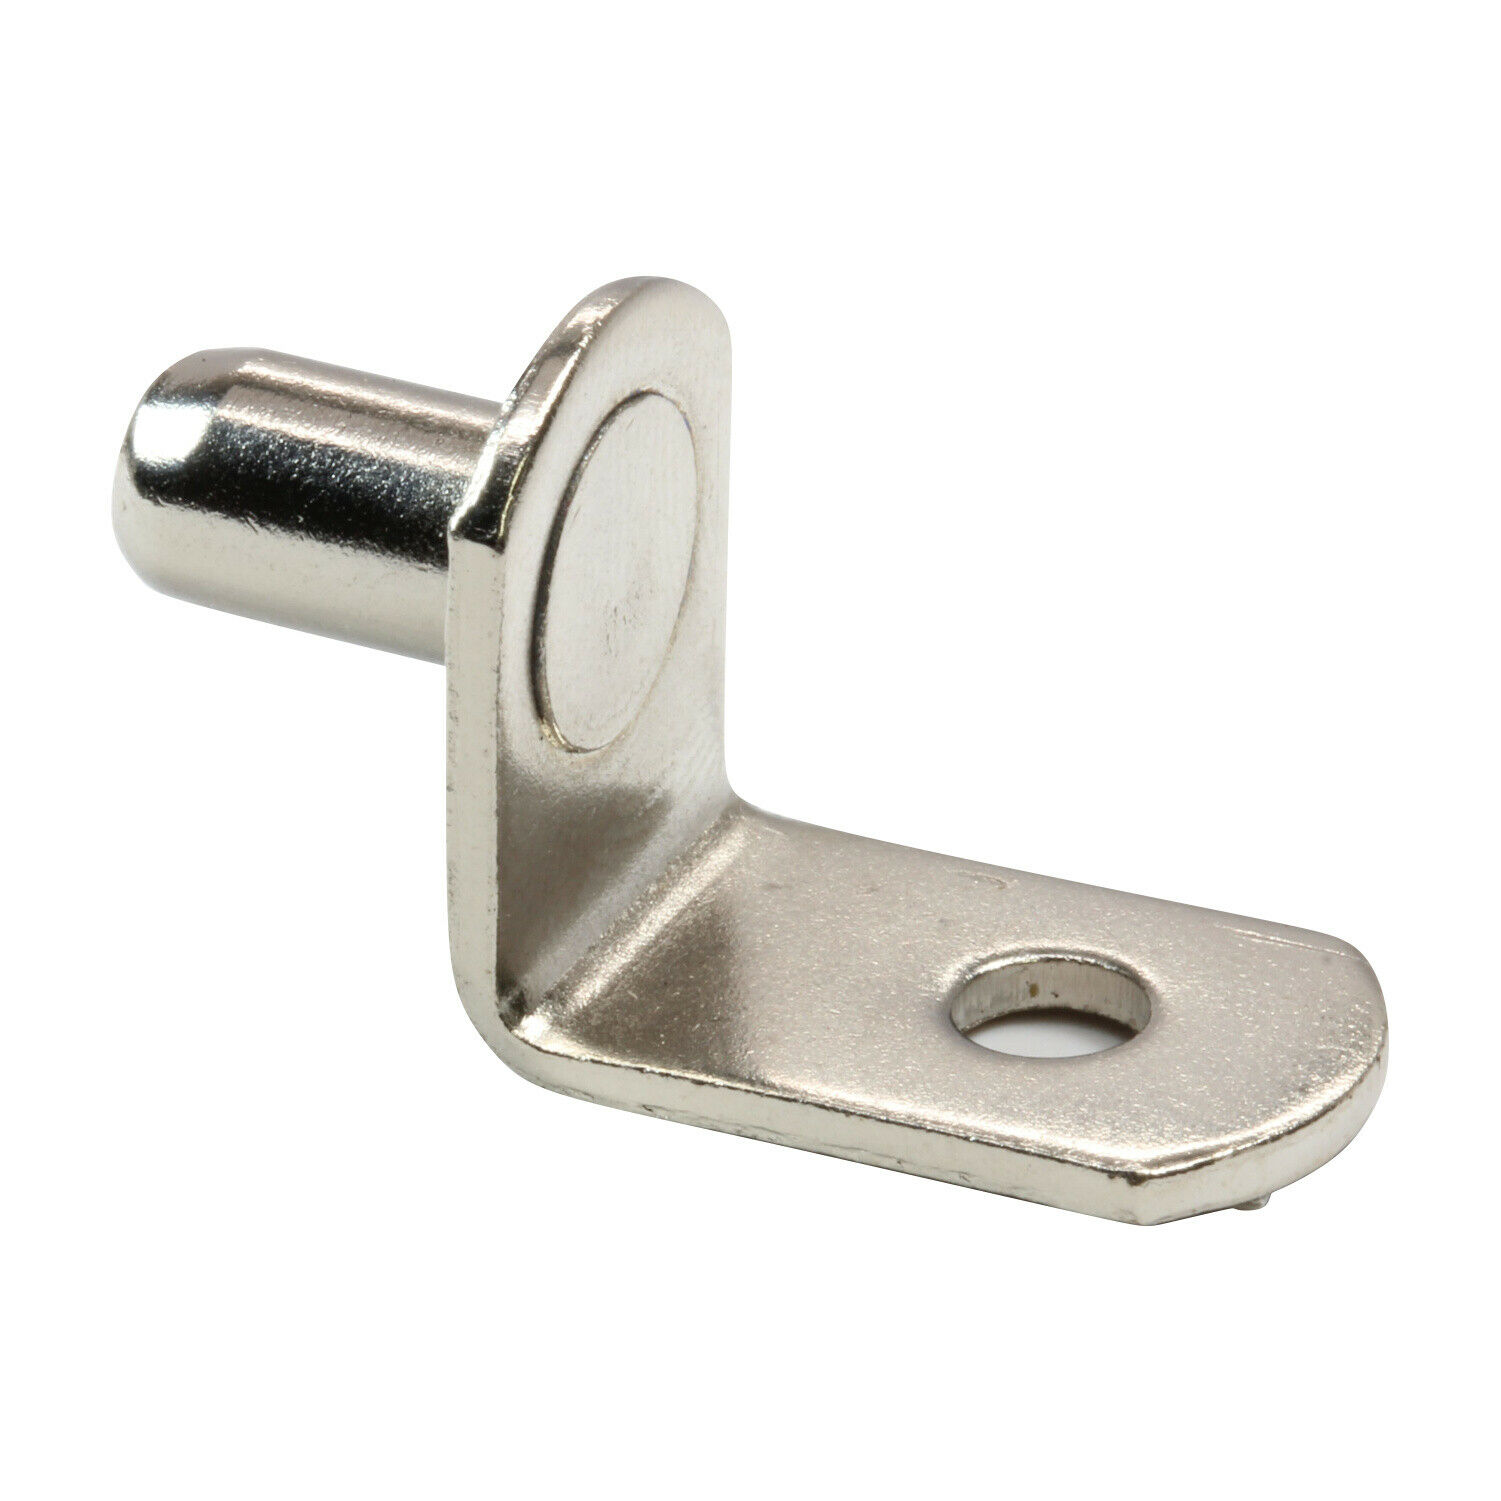
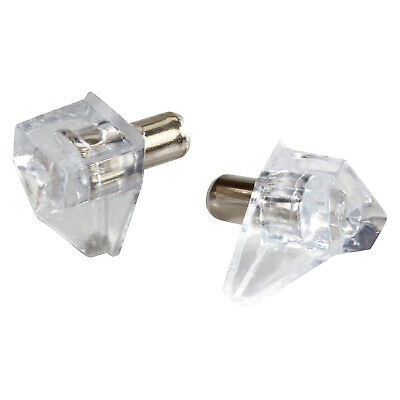
H104NV1Item shown in the first picture only,
other pix for demonstration of
installation purposes.
EPS-H01606NVW1
16" Hardwired Power Strip
with
6 Outlets, White
This hardwired type power strip is good for installation in your kitchen, garage for cabinet, rack, island, countertop and so on. It is not for normal wall outlets. There is no power cord and plug with this unit.
Features
16"
(
0.41m
) Durable Metal Housing Power Strip, White
6
White US Standard Outlets, Vertical Outlet Orientation
Hardwired
without Power Cord for Mounting at Your Desired Location
6
Easily Punched off on Each Side - (on the Top and Bottom Cover, Both Sides and Ends)
ETL
Approved and Listed (Conforms to
UL5
and
CAN/CSA C22.2 No. 62
)
Outlets 1.89" (48mm) center to center
Easy On/Off Back Cover, Where the Wires Are Connected
Wires Readily Striped for Easier Removal and Faster Installation -
Higher Efficiency
Specification
Model #:
EPS-H01606NVW1
Description:
16" 6 Outlet Hardwired Power Strip, White
Power Strip Measurement:
L16" x W1.614" x H1.255" (406 x 42 x 32mm) *
Outlets:
6
Outlet Color:
White
Outlet Orientation:
Vertical
Receptacle Type:
NEMA 5-15R
Outlet Spacing:
1.89" / (48mm) (center to center)
Cord Exit Knockout
6 (on top and bottom cover, both sides and ends)
Voltage Input/Output:
110-125V 60Hz
Current Input:
15A
Full Load:
1875VA (Recommended Max Load 1440W)
On/Off Switch:
N/A
Circuit Breaker:
N/A
Surge Protection:
N/A
Indicators:
N/A
Mounting Tabs:
On both ends (5/8")
Mounting Clips:
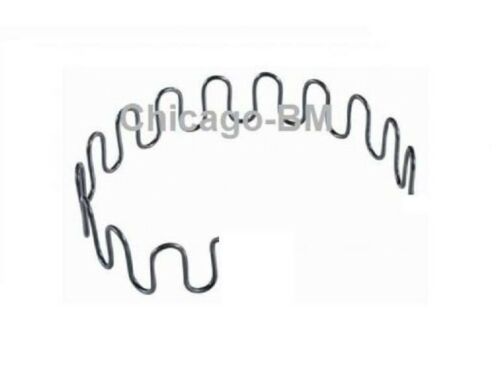
3/4" (19mm) Spring steel clips included
SAFETY WARNING
:
Installation work of this unit must be done by a professional, a licensed electrician or an electric engineer.
Never install this unit during a thunder storm.
Switch off the power before you start installation work.
This unit is for indoor use only.
This unit is not intended for use in or around wet or potentially wet areas including, but not limited to, aquariums, saunas, showers and fountains.
Risk of Electric Shock!
INSTALLATION GUIDE
:
Before installation, you may need to get a 3/8" wire clamp connector (also known as Romex Connector) and 3 wire connectors (also referred to as terminal connectors. Decide your wire gauge, and ask store attendant for assistance what color of connectors you should get) from your local hardware or electric supply or home improvement stores.
Minimum tools required
: A fine to medium fine philips screw driver, and a pair of scissors, and a pair of mid size slip joint pliers
Turn off electricity in the house
Decide where to place this unit
Choose the side you want the cord exit to be and mark on the Knockouts coin
Gently punch off the Knockouts coin marked earlier with the back of a screw driver or other tool handy
Unscrew the Back Cover off the power strip with a philips screw driver
Take out the white plastic insulation sheet, then use the pair of scissors to cut a hole (about 3/4" in diameter, or big enough for the wires to go through) on this plastic insulation sheet WHERE the wires will run through (if you decide to use the bottom knockout on the back cover for wire connection, the hole should be in the middle of the sheet, or, on the side. In this case, you will not need a wire clamp connector. Thus, please ignore step 7, 8 and 11 below)
Put on the 3/8" wire clamp connector you already have in place. Secure the installation of the clamp connector by tightening the big ring screw (which should be the inside the wall) with the pair of slip joint pliers
Run the wires through the wire clamp connector, from the outside into the power strip
Please remember to run the wires through the white plastic insulation sheet (In case bottom knockout on the back cover is to be used for wire connection, please run the wires through the back cover first, now with the knockout coin punched off, from outside to inside)
Match the color of the wires and secure the wire connection with proper wire connectors (different wire gauge use different colored)
Tighten the two pressure screws properly on the wire clamp connector
Place the plastic insulation sheet back in position in the power strip
Screw the Back Cover on
Mount the power strip where you want it to be:
A) For power strips with mounting tabs on both ends: screw down the unit on the floor, wall or in your cabinet or on your rack, where you want it to be
B) For power strips without mounting tabs, but to be mounted with, place the unit where you want it to be first, make marks where to install the clips, which normally should be placed about 6" away from each end, and then screw the clips down with screws provided. Then, snap the power strip in on the clips
Turn electricity back on, you are ready to go
NOTE
:
* For installation purpose: The length of the power strip does not include the mounting tabs (approx. 0.624"/15.8mm on both ends, if available, please check the above spec chart); the width does not include the size of screws (min. 0.064"/1.6mm on each side); the height does not include the receptacles (about 0.208"/5.3mm above the surface of the strip).
IMPORTANT
:
This unit is Not intended for use in or around wet or potentially wet areas including, but not limited to, aquariums, saunas, showers and fountains.
We also custom manufacture for our customers. Please contact us for more details.
Shipping to Canada:
1
(brokerage and duty included). Please contact us for shipping rate to HI, AK, PR, APO/AFP/FPO/MPO, offshore islands and other int'l destinations.
Please click "
View seller's other items
" for more sizes of this kind of products and more items available in our eBay store, and if you could find more interesting items to bid/buy and ship together, there will be
savings on the shipping.
Please contact us for any questions before bidding. Thank you very much.
